How to Identify and Fix Leaks in Pool Pipe Fittings
Leaks in your pool system can be frustrating, expensive, and wasteful—but they’re also surprisingly common. One of the main culprits? Faulty or aging Pool Pipe Fittings. Whether due to wear and tear, improper installation, or weather-related stress, even a small leak can affect your pool’s efficiency and water quality.
In this blog, we’ll guide you step-by-step through identifying and fixing leaks in your pool pipe fittings, helping you save time, money, and stress.
Why Pool Pipe Fittings Leak
Before diving into solutions, it helps to understand what causes pool pipe fittings to leak in the first place. Common reasons include:
-
Age and wear: Over time, plastic fittings can become brittle and crack.
-
Improper installation: Misaligned or poorly bonded fittings can develop leaks under pressure.
-
Chemical exposure: High levels of chlorine or pH imbalance can degrade certain materials.
-
Freezing temperatures: Water expansion from freezing can crack fittings or loosen joints.
-
Ground movement: Soil shifting or settling can stress underground pipe connections.
How to Identify Leaks in Pool Pipe Fittings
1. Visual Inspection
Begin by checking all visible pipework and fittings around the pool pump, filter, and return lines. Look for:
-
Water drips or puddles
-
Stains or mineral build-up
-
Damp areas around joints
2. Use the Dye Test
For small leaks that aren’t immediately obvious, turn off your pump and apply pool-safe dye around suspicious joints. If there’s a leak, the dye will be drawn into the opening.
3. Check Water Levels
If your pool is losing water faster than usual (and it’s not due to evaporation), it might be a sign of a hidden leak in your underground plumbing.
4. Listen for Air Bubbles or Noises
Air being pulled into the system can indicate a suction-side leak. You might notice:
-
Bubbles returning to the pool
-
A noisy or gurgling pump
How to Fix Leaking Pool Pipe Fittings
Once you’ve pinpointed the problem area, here’s how to fix it properly:
Step 1: Turn Off the Pool System
Always start by turning off the pool pump and isolating the area to avoid water flow during the repair.
Step 2: Expose the Fitting (if underground)
If the leak is below ground level, carefully dig around the pipe and fitting to expose the problem without damaging surrounding pipes.
Step 3: Remove the Damaged Fitting
Use a pipe cutter or hacksaw to remove the leaking section. Ensure your cuts are clean and straight.
Step 4: Prepare the New Fittings
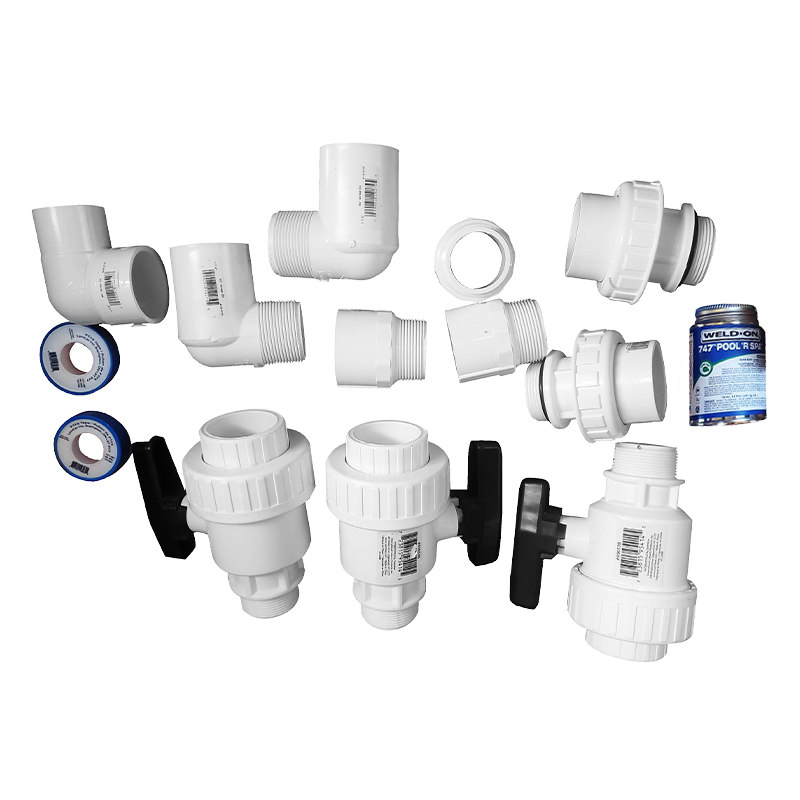
Get replacement Pool Pipe Fittings of the same size and type. Clean the ends of the existing pipe and the inside of the new fittings using a suitable solvent cleaner.
Step 5: Apply PVC Cement
Use a high-quality PVC cement (especially one rated for wet or damp conditions). Apply it to both the pipe and fitting before pushing them together with a slight twist. Hold for at least 30 seconds to secure the bond.
Step 6: Allow to Cure
Let the fitting cure according to the cement manufacturer’s instructions—typically 2 to 4 hours—before turning the system back on.
Temporary Fixes (For Emergencies Only)
If you need a quick fix while waiting for parts or professional help, consider:
-
Waterproof tape or pipe repair tape
-
Rubber patches and clamps
-
Epoxy putty
These solutions are short-term and not a replacement for proper repair.
Preventing Future Leaks
-
Regularly inspect your pool plumbing system
-
Use high-quality, chemical-resistant PVC fittings
-
Winterize pipes properly if you live in a freezing climate
-
Avoid over-tightening connections during installation
-
Install unions for easier future maintenance
Final Thoughts
Identifying and fixing leaks in Pool Pipe Fittings isn’t just about saving water—it’s about protecting your pool system from more costly damage. With the right tools, a little know-how, and reliable replacement parts, you can keep your pool operating efficiently year-round.
Need durable fittings for your pool repair project? Check out our wide range of Pool Pipe Fittings at PPFV—engineered for performance, longevity, and hassle-free installation.