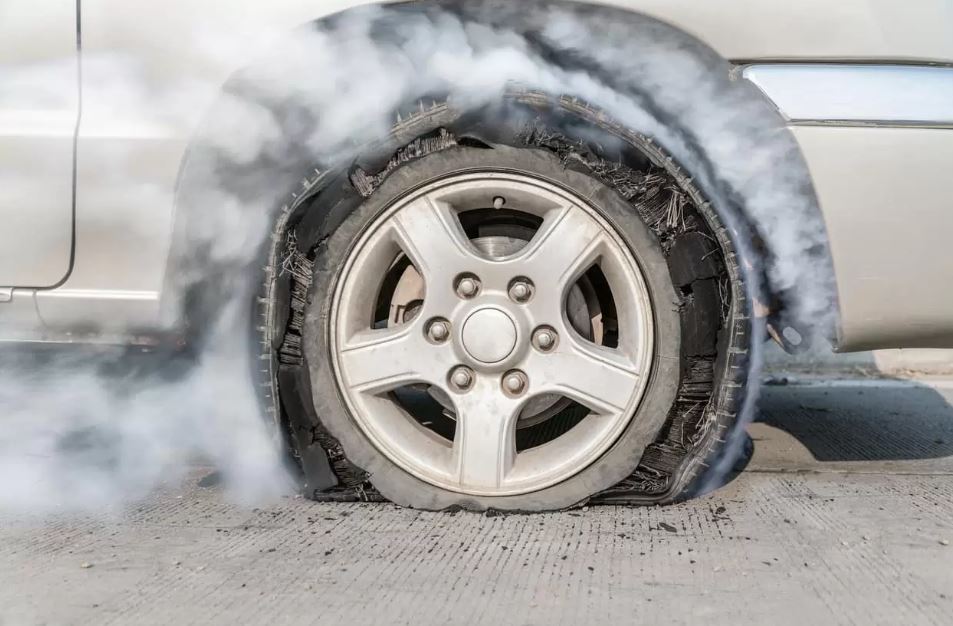
While tubeless tires have become the norm in modern cars, many older vehicles and some commercial trucks still utilize tube-type tires. When faced with a flat tire on a vehicle with a tube, knowing how to change it effectively is crucial. This guide by Top Car Removal in Sydney delves into the essential techniques for changing a car tube, ensuring you get back on the road safely and efficiently.
Safety First:
Before attempting any tire repair, prioritize your safety:
- Park on a flat, stable surface away from traffic.
- Engage the parking brake and set wheel chocks behind the wheels opposite the one being changed.
- Turn on your hazard lights to alert other drivers.
Gathering the Necessary Tools:
- Jack: Consult your car’s owner’s manual to locate the designated jack points and ensure you have the appropriate jack for your vehicle.
- Lug wrench: This tool is used to loosen and tighten the lug nuts that secure the wheel.
- Tire iron: This tool helps pry the tire bead off the rim.
- Patch kit: This kit contains patches, rubber cement, and a roughening tool to repair the punctured tube.
- Spare tire: Ensure your spare tire is inflated to the correct pressure.
Step-by-Step Guide to Changing a Car Tube:
- Loosen the Lug Nuts: Using the lug wrench, slightly loosen the lug nuts on the flat tire while the car is still on the ground. Do not remove them completely at this stage.
- Jack Up the Car: Locate the designated jack points on your car’s frame and carefully raise the car until the flat tire is off the ground.
- Remove the Lug Nuts: Once the car is jacked up, completely remove the lug nuts and set them aside in a safe place.
- Deflate the Tire: Use the valve stem to deflate the tire completely.
- Remove the Flat Tire: Pry the tire bead off the rim using the tire iron, starting from one side and working your way around the entire circumference.
- Inspect the Tube: Carefully remove the tube from the tire and inspect it for the source of the puncture.
- Repair the Tube (if repairable):
- Roughen the area around the puncture with the provided tool.
- Apply a thin layer of rubber cement to both the patch and the tube around the puncture.
- Firmly press the patch onto the puncture, ensuring good adhesion.
- Mount the Repaired Tube: Place the repaired tube back inside the tire.
- Re-inflate the Tire: Inflate the tire to the recommended pressure, as indicated on the tire sidewall.
- Mount the Tire Back on the Rim: Carefully position the tire back onto the rim and use the tire iron to pry the bead back onto the rim edge.
- Tighten the Lug Nuts: Screw the lug nuts back on hand-tight, then use the lug wrench to tighten them in a star pattern. Ensure they are secure but not overtightened.
- Lower the Car: Carefully lower the car using the jack and remove it.
- Double-Check the Lug Nuts: After lowering the car completely, re-check the tightness of the lug nuts to ensure they are secure.
Additional Tips:
- Carry a spare tube: Having a spare tube readily available can save you time and hassle in case of a puncture.
- Practice makes perfect: Familiarize yourself with the process beforehand to avoid fumbling during an actual flat tire situation.
- Seek professional help if unsure: If you are uncomfortable changing a tube yourself, it’s always best to seek assistance from a qualified mechanic.
visit: https://fastlinkcarremoval.com.au/damaged-cars-removal/
Conclusion:
Knowing how to change a car tube can be a valuable skill for drivers of older vehicles or those who frequently travel in remote areas. By following these steps and prioritizing safety, you can effectively repair a flat tire and get back on the road with minimal inconvenience. Remember, practice and a well-equipped car kit can make the process smoother and less stressful.
